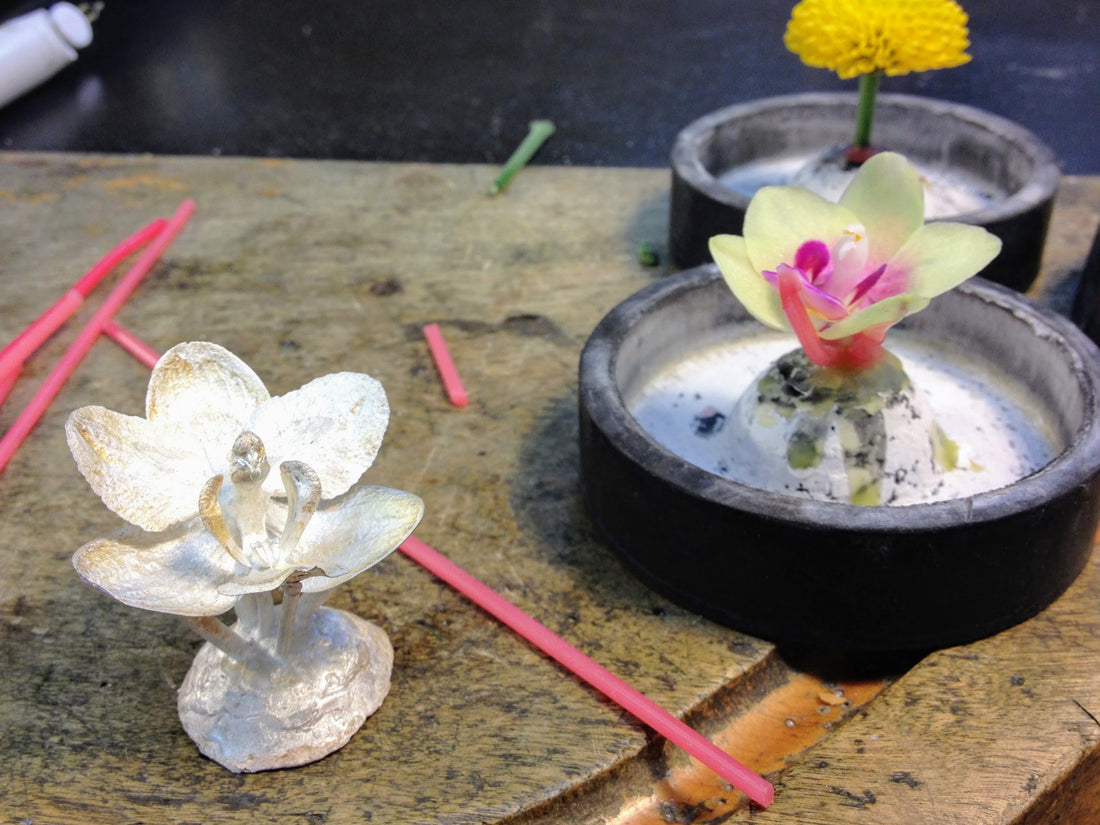
Lost Wax Casting + Organics
I thought it was time to share!

I've been fielding a lot of questions about casting metal, and over the last few months I created a little list of quick lost-wax casting information. This assumes some prior knowledge, but I'll to point to Tim McCreight's amazing book The Complete Metalsmith as a starting point.

First off, I'll say that doing organic burnouts (and casting in general) is extremely toxic, and that's the main reason why organic or lost wax burnout is rarely done in a domestic space. To correctly evacuate the positive material (wax, bone, feather, etc), and to properly harden the investment that creates the mold, the kiln doing the burnout needs to be heated to almost 1700 degrees F. This creates harmful vapors and smoke that must be vented - when I did burnouts, I did them at Oregon College of Art and Craft, where our ventilation had been set up with advice from an OSHA expert. Generally these burnout kilns need 220 v electricity as well, not necessarily a common domestic voltage (although you can have it wired in, insurance usually balks at it). This is the burnout oven I am familiar with.

For investment plaster, I really like Kerr - again, remember the powder contains silica, so is very harmful to lungs without proper respiratory protection. Until it is wetted, these little dust particles can slash lung tissue!
For organic burnout timings, it is really a guessing game: bone takes the longest (I've had success with 12-16 hours at 1600 degrees), while flower petals are shorter (but must be dried: remember any moisture in the mold will want to turn to steam and will expand - I've definitely blown up wet items in a burnout before! Not fun to clean up exploded investment in a hot kiln!).

Silver's melting temp (at around 1700 F / 900 C) is a good 400-600 degrees cooler than bronze - and brass is even higher. The higher the melting temp of the metal, the higher the temp your burnout needs to be (the flask coming out of the kiln needs to match the temp of the metal). It can also pick up good detail - the lower melting temperature also reduces the risk of oxidation. The specific gravities of the metals play a role as well: especially with wax, knowing how dense the metal is will make a difference in your calculations. You probably know this, but to reiterate: wax (or organic positive) x specific gravity = total needed. I usually add about 30% for the button, but you don't want to add too much or you'll overflow the pour.

A list of basic materials:
- Metal for melting (melting temp must be = or less than burnout temp)
- Crucible (if using ceramic, need borax for charging)
- Torch or Furnace for melting metal
- Graphite rod
- Burnout oven/kiln (check voltage - will need 220v likely)
- Ventilation with cfm to match volume of room
- Wax lamp
- Sprue wax
- Rubber base / steel flask
- Investment (power to mix and encase the wax or organic model)
- Scale (for investing and measuring metal)
- Rubber bowl (for mixing investment)
- Vacuum chamber (for degassing investment - this step is especially important for organics)
- Centrifugal chamber/set up (I use a centrifugal casting arm) or vacuum chamber - you can use the same chamber you use for degassing with a high temperature pad replaced - (for actual casting - you need additional force besides gravity to force metal into mold)
- Casting tongs
- Kevlar gloves (don't skimp on protection!!)
- Shade 5 glasses (if using torch)
- Quench bucket (after initial cooling)
- Pickle (sodium bisulfate or citric acid for removing the oxidation - with organics there will be a lot because the organic ash usually flashes the inside of the mold)
- Copper tongs
- Jeweler's saw (for removing button, sprues, etc)
- Files
- Sandpaper
- Courage!
That would be the bare bones for a casting set up. There are a lot of other little things that make life easier (like a spray for helping bubbles not stick to your organic materials when you invest - however, modern casting technology makes this debatable), but you can get by without them.
I hope this helps! Good luck!